
This tutorial covers the sewing directions on the WS1002 Caped Crime Fighter Pattern under
"Cowl Sewing Instructions" steps 2-7

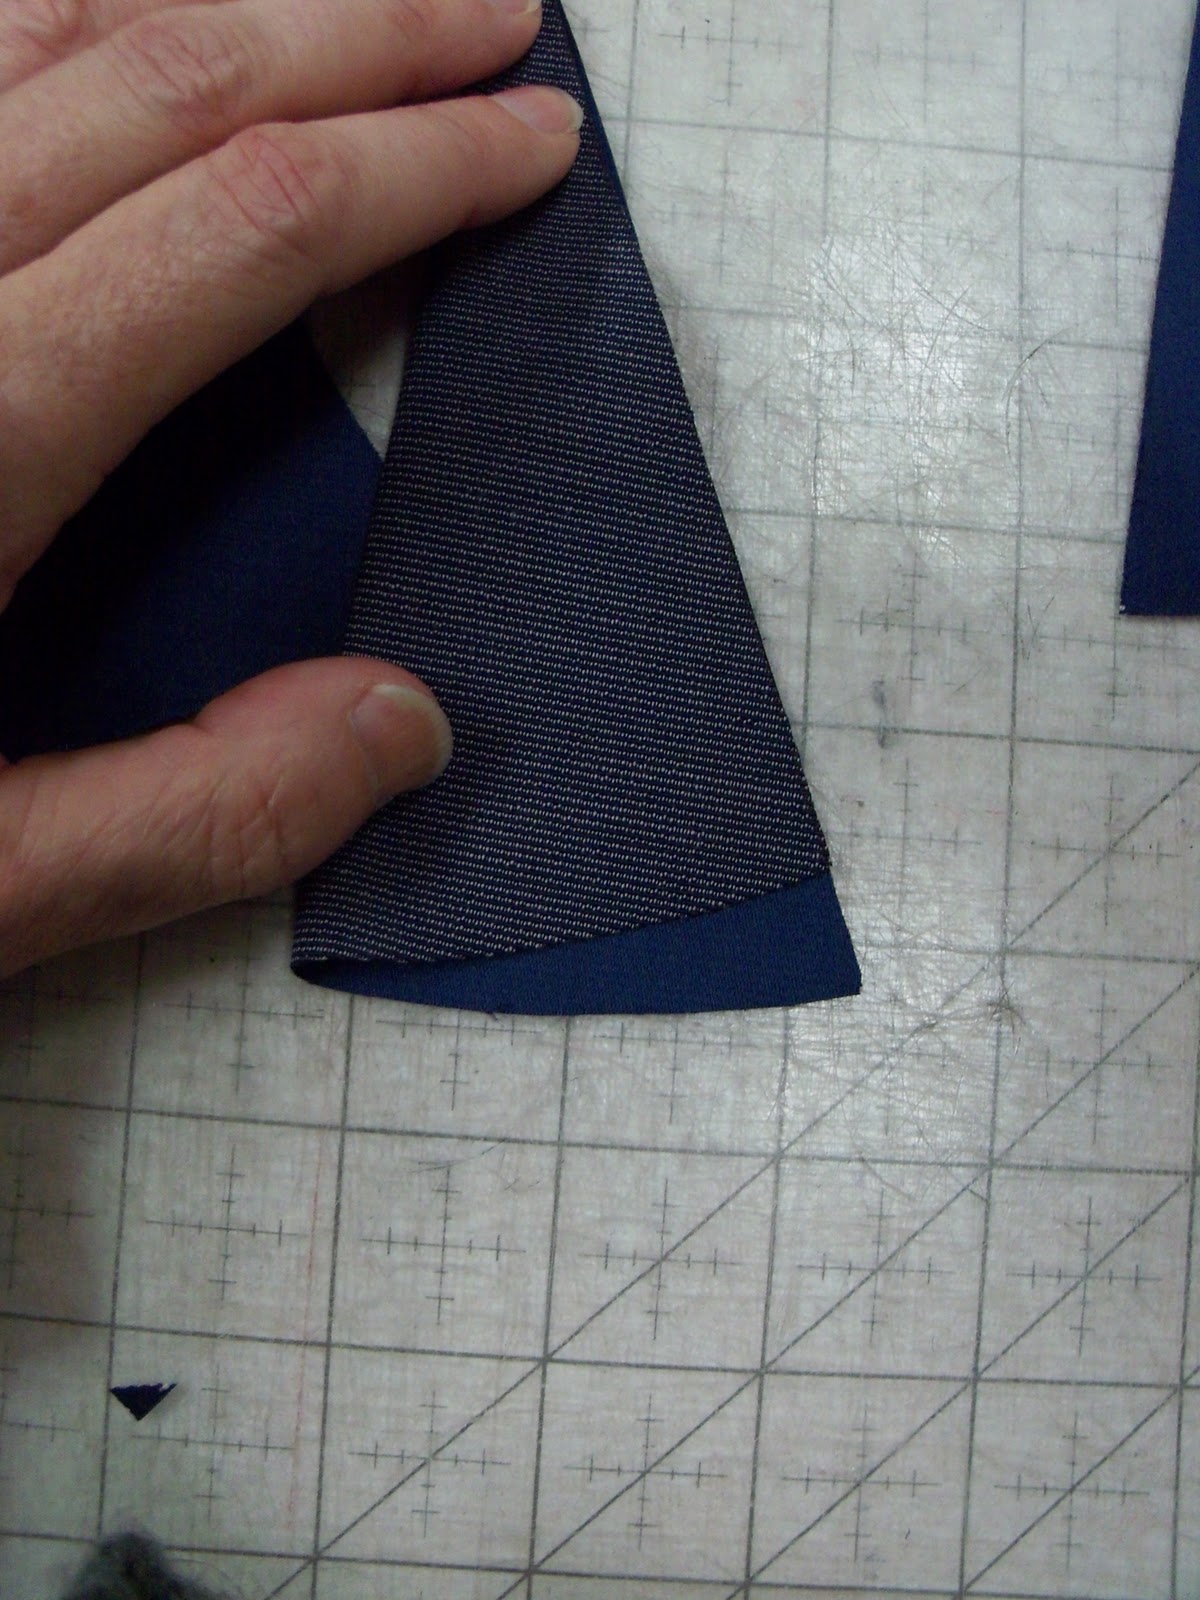
This is how your side Cowl #5 will look after cutting out and marking the darts and Godet cutting line. Cut along the Godet cutting lines an inch or two.
Do not cut any deeper until after the darts are sewn.

Step #2
Fold the darts with right sides together down the center and place pins at each end.
To insure your darts are accurately sewn. Pierce the fabric with your pin along the front stitch line and straight through to the back stitch line as shown.

Continue to pin along your dart stitch line and then sew from one end to the other.

Always press your dart flat first being careful to not press beyond the point, which would cause the dreaded dimple.
Once the dart is pressed flat you will press the dart that leads into the godet towards the front of the cowl. The lower dart which touches the hem line will be pressed towards the back of the cowl.
Step #4 & 5
Moving onto the godet piece #7 - It is important that you mark the dot located at the apex of the godet.
You will notice that one side of the godet is slightly shorter then the other. The longer edge gets sewn to the longer/leading godet cut line.
You can now cut the godet cut line to within 1/2" of your sewn dart.

With right sides together pin the dot on the Godet #7 to the very end of your sewn dart.

Place another pin at the bottom edge matching the cut line.
The cut line will not match along the entire edge.
Sew from the dot maintaining a 1/2" seam allowance along your Godet cut edge. Your bottom edge may or may not match depending on the accuracy of your cutting and dart sewing, but don't worry if its a little short or long, this will get trimmed when you finish the hem edge.

This is what you seam line will look like from the cowl side once sewn.

I realize this part is scary...but you will now continue cutting along your godet cutting line right up to the end of your dart and beginning of your godet stitch line.

Step #6
Flip it over so your right sides match again and the opposing cutting line is "matched up with your opposite godet edge. You will pin as you did the first, matching the cut lines at the bottom. Sew from the top to the bottom maintaining your 1/2" seam allowance along the godet only. The godet cut line will have a very narrow seam allowance at the top gradually ending in the 1/2" at the bottom. Here you can see that my hem lines don't quite match...no worries because remember you will be trimming that when you finish the hem.

Step #7
Press the godet from the right side making sure the seam allowance is laying nice and flat.
From the right side then stitch in the ditch along the edge of the dart grabbing the top tip of the godet to secure.
Now repeat for the other side and your side cowl pieces will be ready to sew to your center cowl piece.
Please leave a comment if you have any questions and I will respond back as soon as possible.
Hope you have enjoyed learning a new skill:)
No comments:
Post a Comment
Please share your thoughts with Lynne